
How to send Slack form responses to Zapier and Google Sheets
Once you've created a form in your Slack workspace, it is a great idea to connect it with Zapier. This will allow you to send the responses in your form to any of the 7000+ apps available through Zapier like Google Sheets, Notion, Airtable etc.
Thus unlocking automated workflows like, filing a customer reports to the product team, collecting team feedback in the HRIS software or triggering email sequences.
Here are the steps to do that:
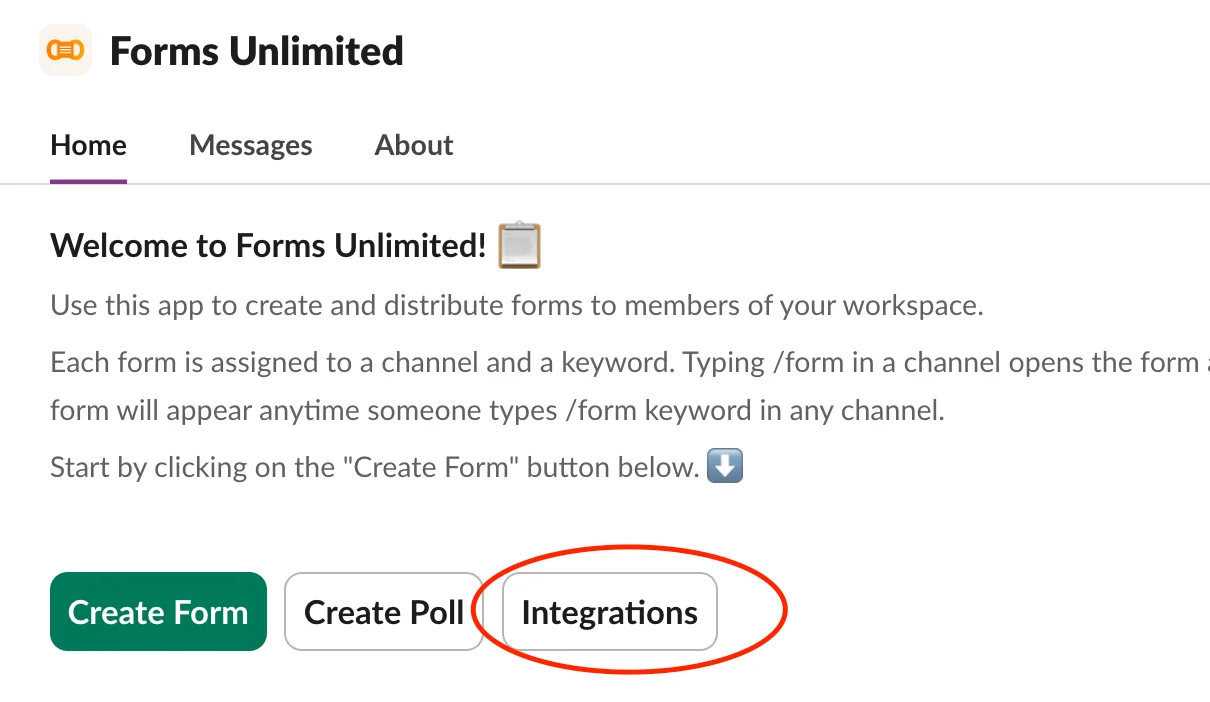
1. Click on the Integrations button
In Forms Unlimited Home tab, click on the Integrations button.
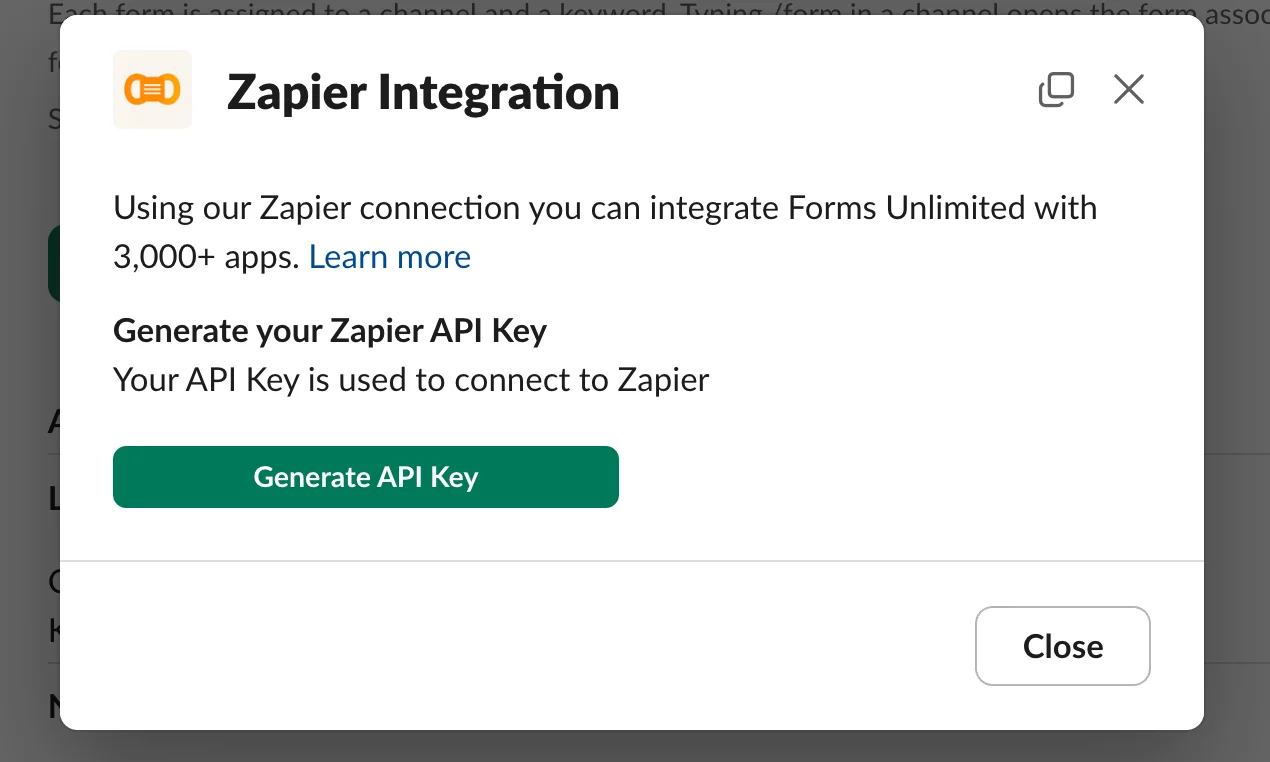
2. Generate your API key
Generate your API key and copy it.
3. Create a new Zap
Head over to Zapier and create a new Zap.
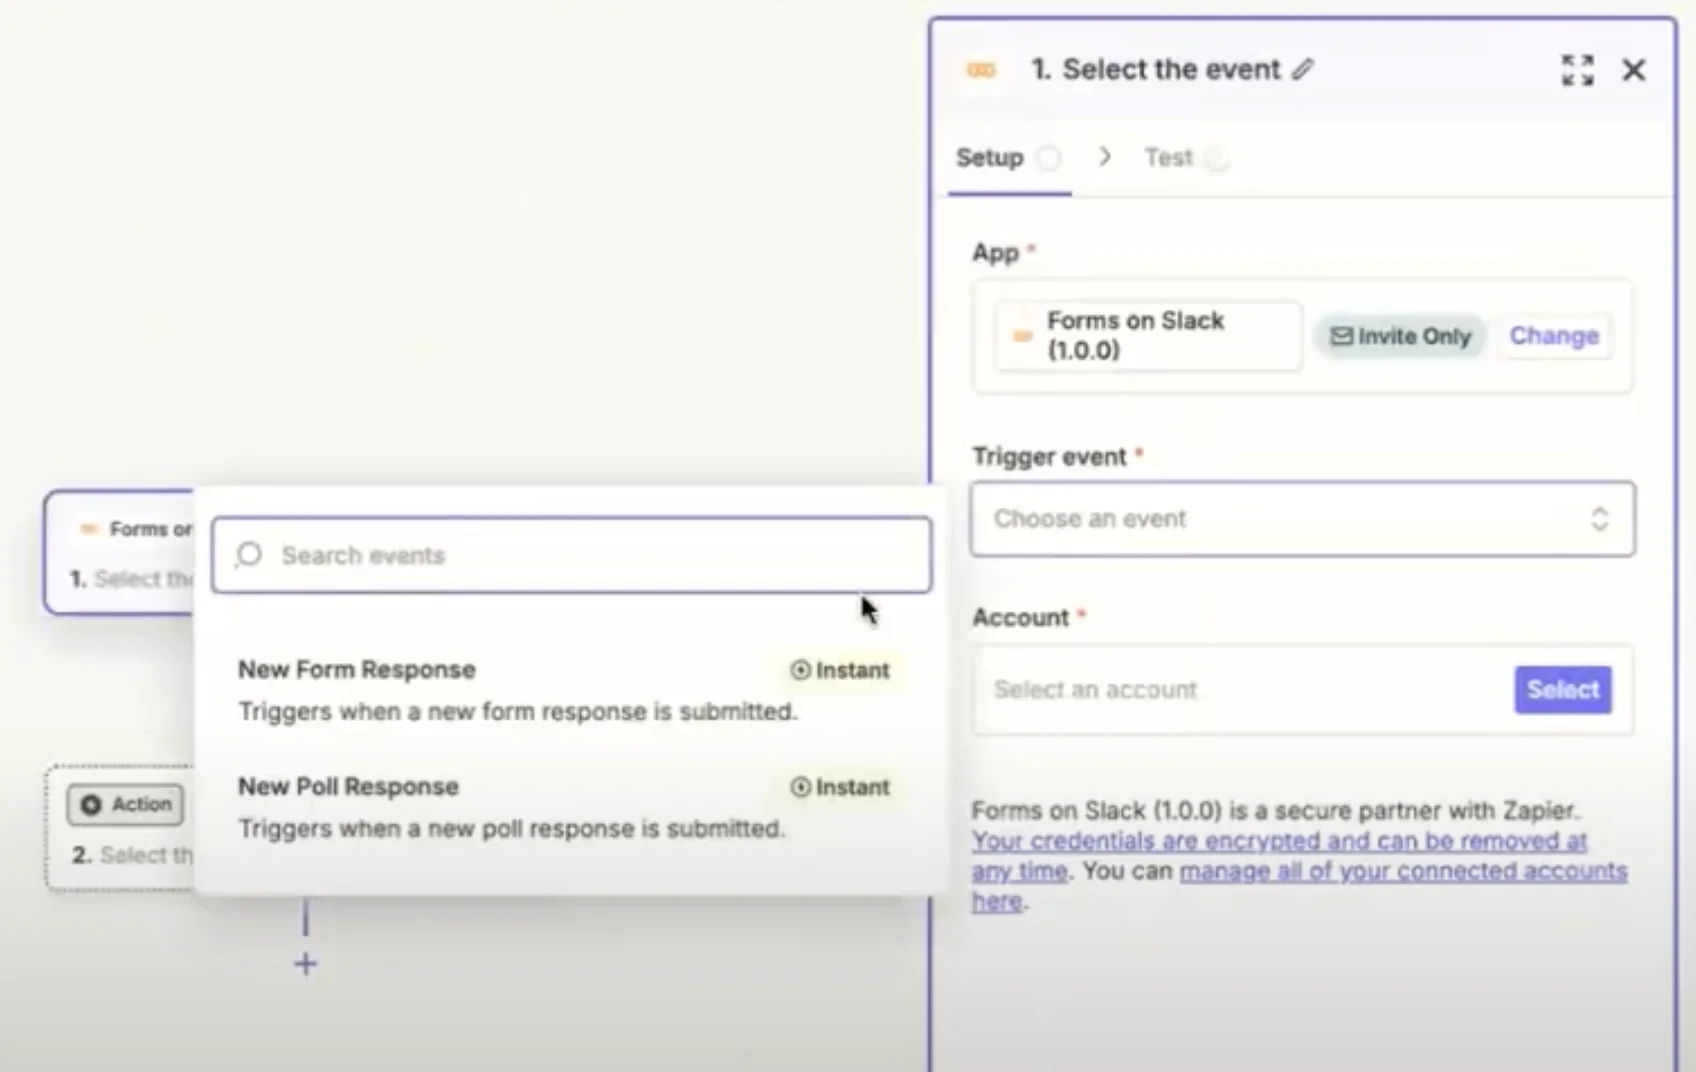
4. Search for "Forms on Slack"
In the Zapier interface, search for "Forms on Slack".
5. Choose a trigger event
Select the appropriate trigger event for your workflow.
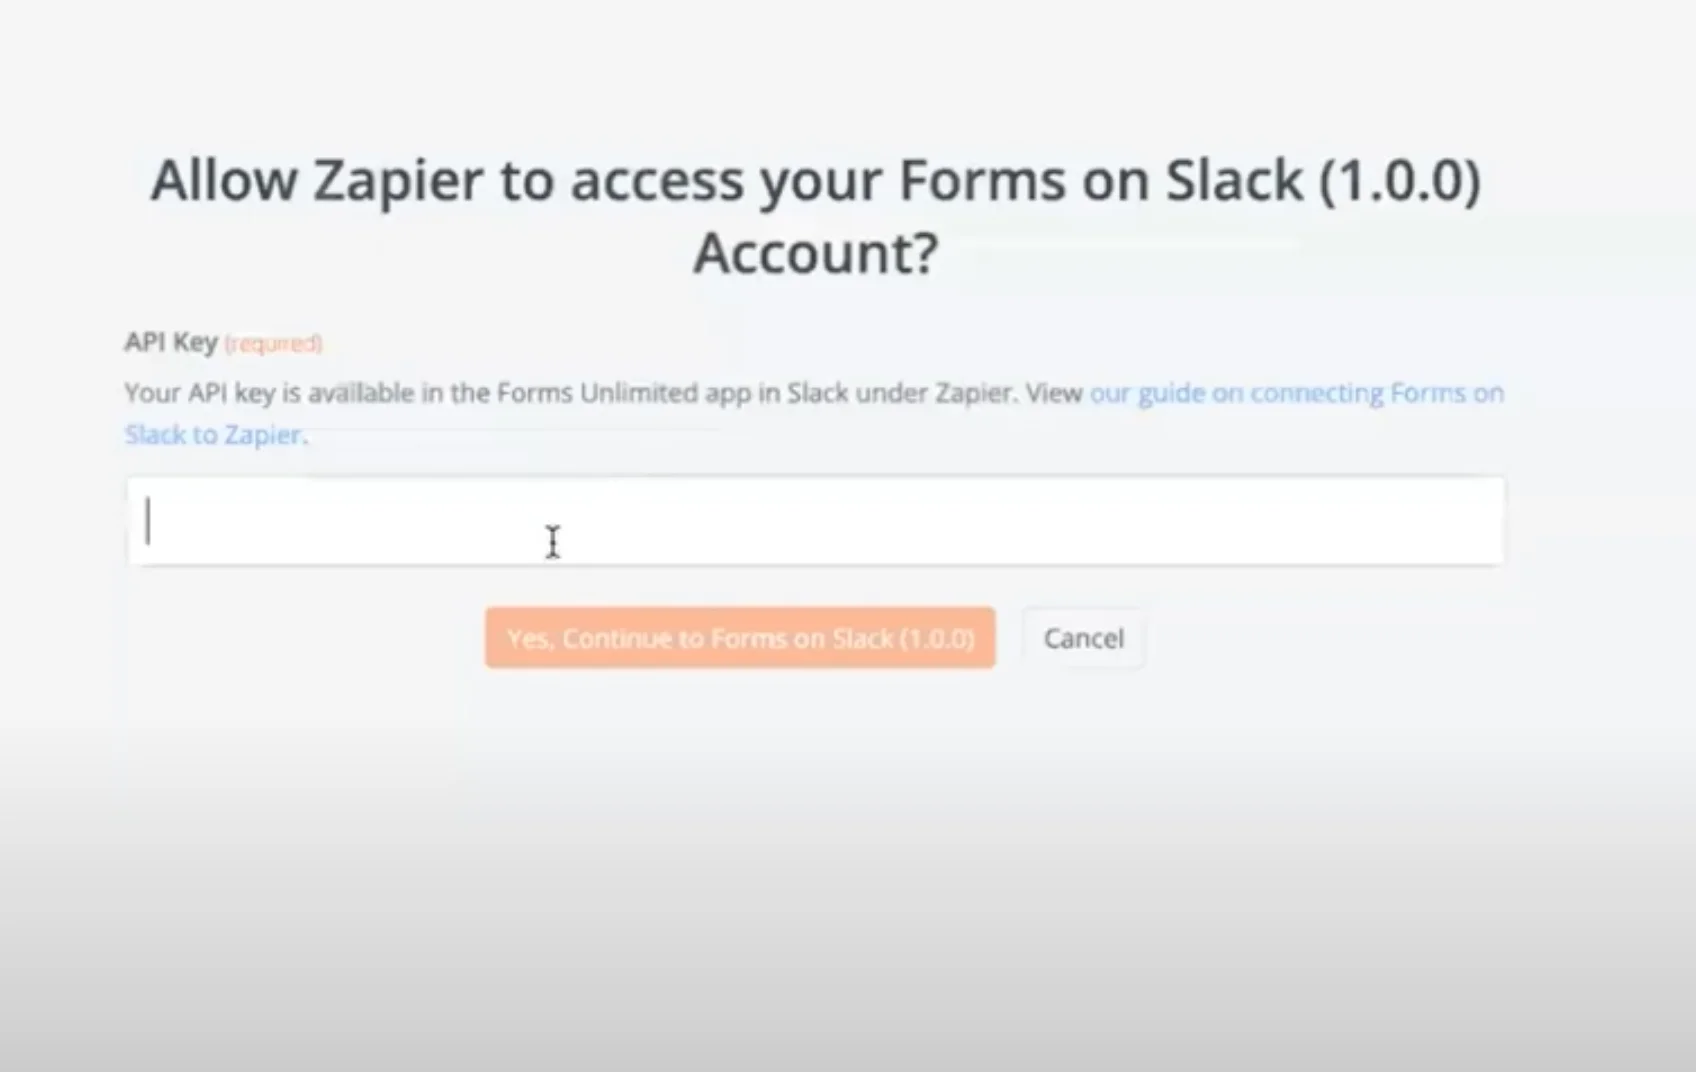
6. Connect your account
Paste the API key you copied earlier in this form to connect your form to Zapier.
7. Configure the form you want to integrate
Click on the "Configure" tab to select the form whose responses you want to send through in this zap. All the forms you create will be visible here.
After this, you can continue to set up the Action to send your form's responses to any of the 7000+ apps on Zapier. Like Google Sheets.
8. (Optional) Setting up Google Sheets action
After you're done with the "Configure" tab, you will be asked to test the trigger. Click on "Continue with selected record" to send a dummy record to your Google Sheet.
- Before you proceed further, create a new Google Sheet file that will house all the responses for your form and add the appropriate column headers.
- Then, under "Action event" select "Create Spreadsheet Row".
- Select your Google account and press "Continue"
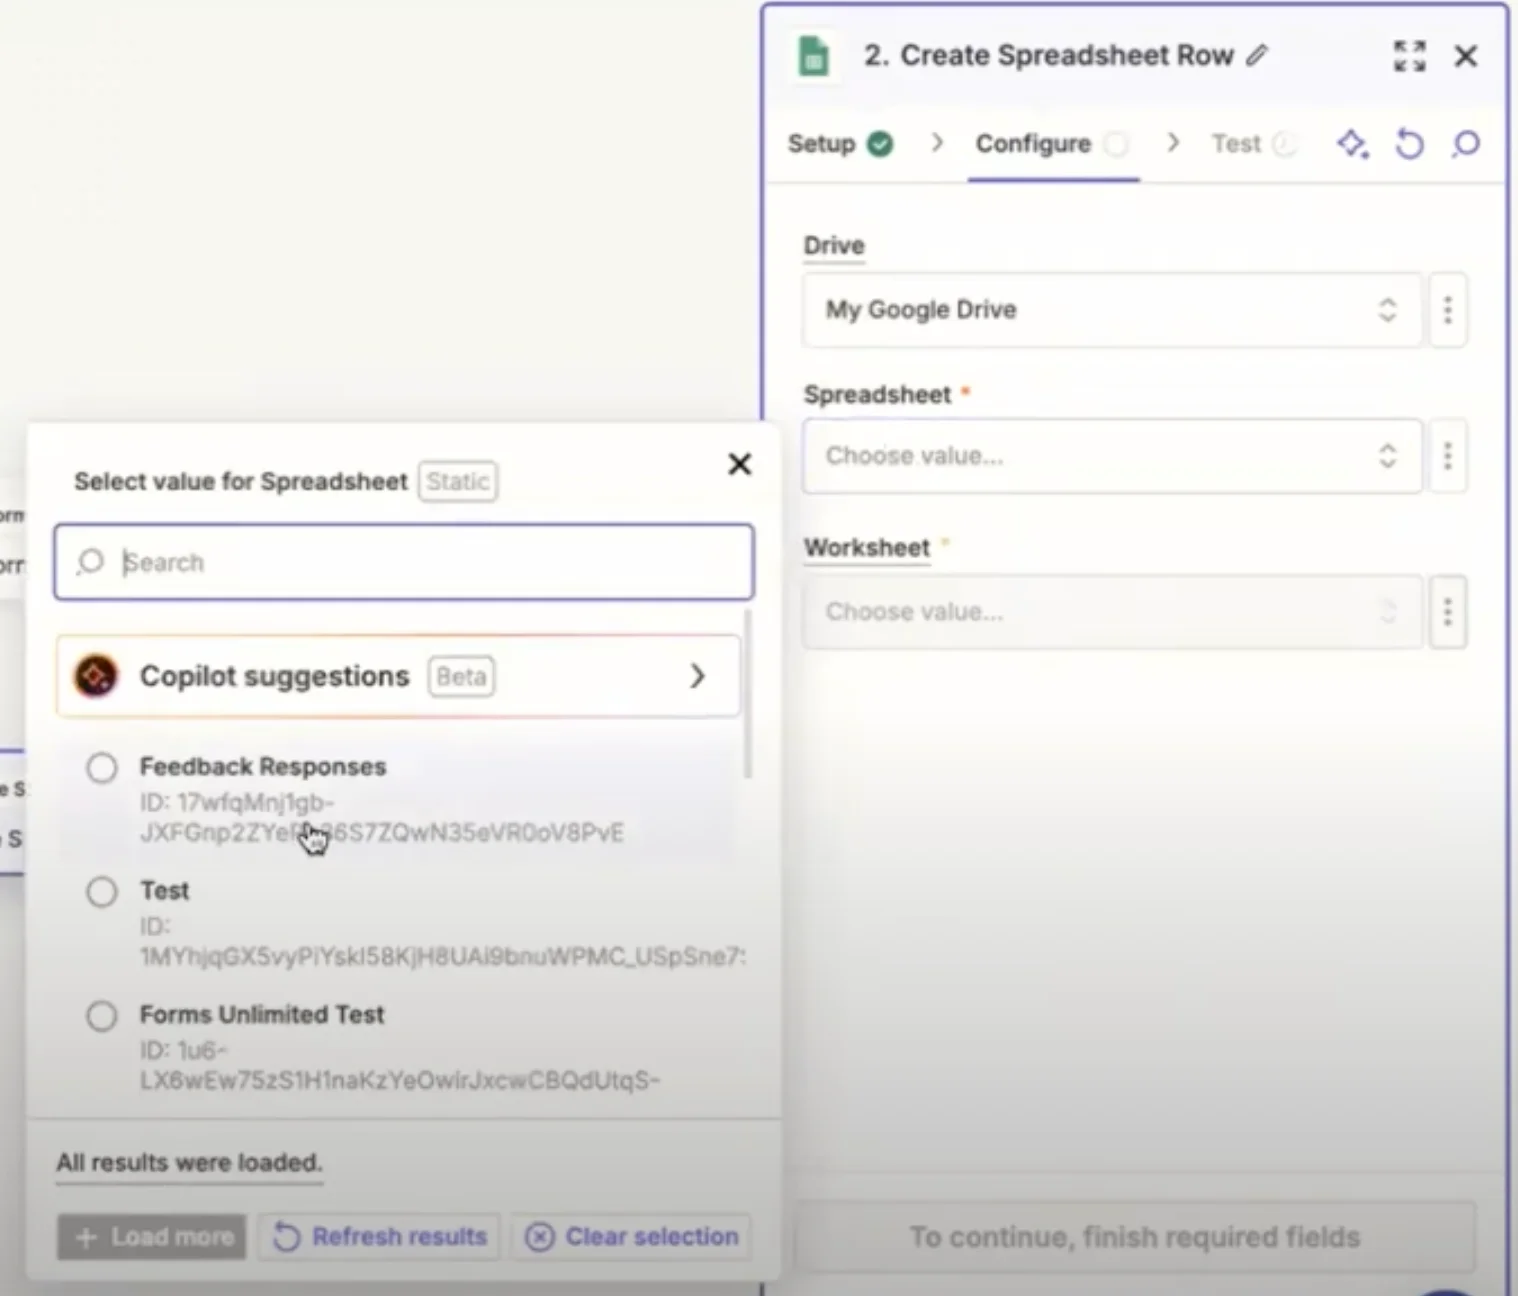
- Now you can configure the action. Here you can specify the spreadsheet file that will collect your form's responses (select the file you created in step 1).
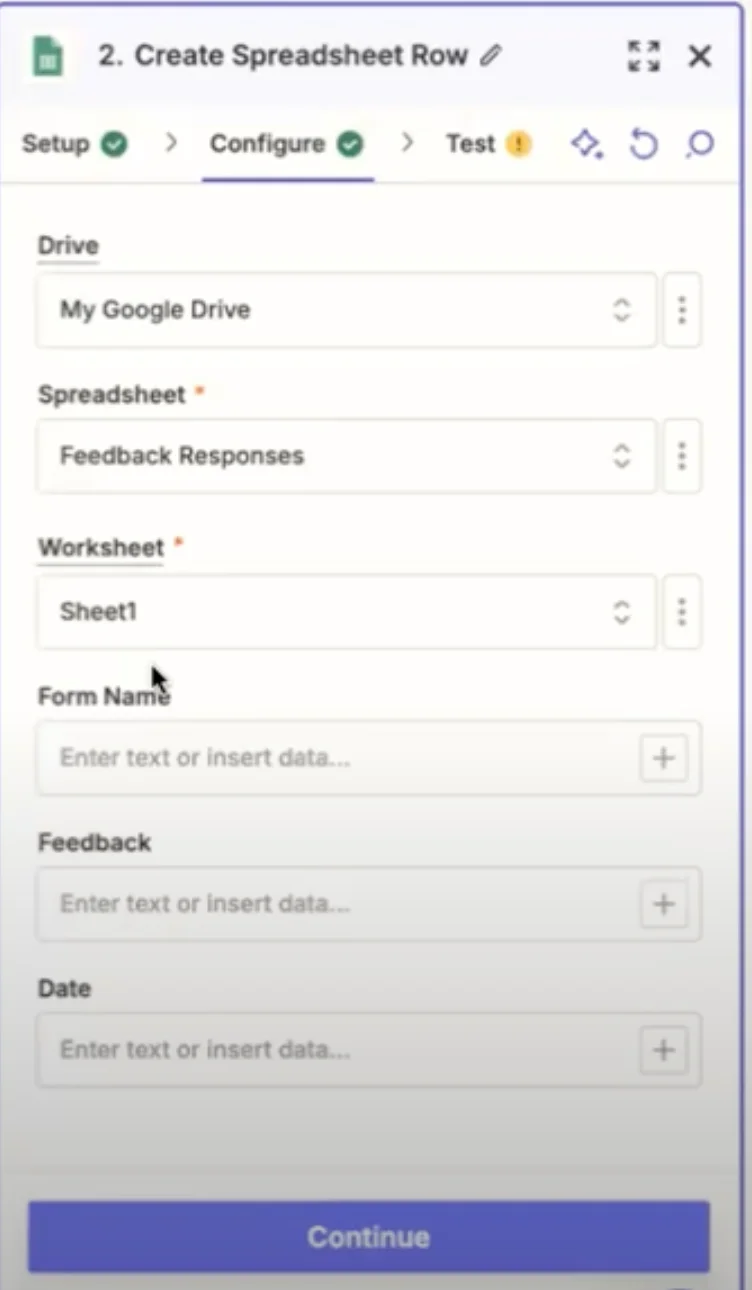
- You will now see the column headers you created in step 1 pop up on the form. Now, you can map the form fields to each column header.
- Finally test the trigger to make sure the dummy data is being sent to the sheet.
That's all! Now your Zap is ready to send responses from your Slack form to Google Sheet. Hit publish to make it live.
Here's a video tutorial showing you these steps:
You can follow a similar process to connect Forms Unlimited to any of the other apps on Zapier.